
Let’s talk about the trombone in three parts; the mouthpiece, the slide and the bell section. These each need different care; some need regular cleaning – especially important for parts that are in contact with your face – and other parts only need occasional attention, just enough to keep them functioning well.
These simple steps can be done yourself at home, with just a few specialist brushes. Nothing fiddly is required and the steps below can be adapted to fit the equipment and space you are working with.
The Mouthpiece
As this is in contact with your mouth, it is vital that you keep this part of your instrument nice and clean. Any greasy build up is going to be uncomfortable to play with and keeping the metal clean – especially the rim – is going to ensure comfort for your chops too.

You will need;
- jug/container
- white distilled vinegar and/or a tiny drip of dish soap
- mouthpiece brush
- freshly boiled kettle
- small towel
- Carefully add your mouthpieces to your container and pour enough hot water to submerge the mouthpieces, add a little distilled vinegar and/or dish soap and mix if you need
- Let it soak – the heat and the detergent will lift most of the gunk
- Remove from the water, carefully use your mouthpiece brush to remove any last bits of gunk
- Rinse* and leave to dry, I like to rest them on a small towel
* Are you rinsing enough? Make sure your water runs clean – any sign of bubbles is a sign that soap still remains. You don’t want to leave any soap in your instrument!
The Slide
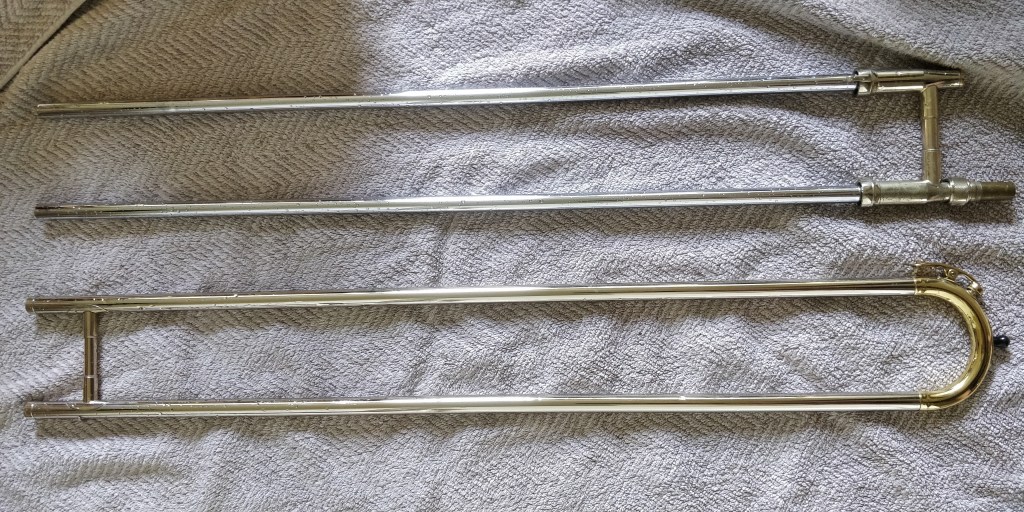
A trombone slide comes in two parts; the outer slide and the inner slide. Slide care is important for both hygiene reasons and instrument function. A sticky slide – especially if ignored for a while – can result in some strange playing habits; you want to maintain a nice smooth slide so you can float around the instrument without resistance.
You will need;
- bath tub or sink
- warm water
- small drop of dish soap
- pull-through brush (though other options available)
- kitchen paper (clean)
- big clean towel (very clean)
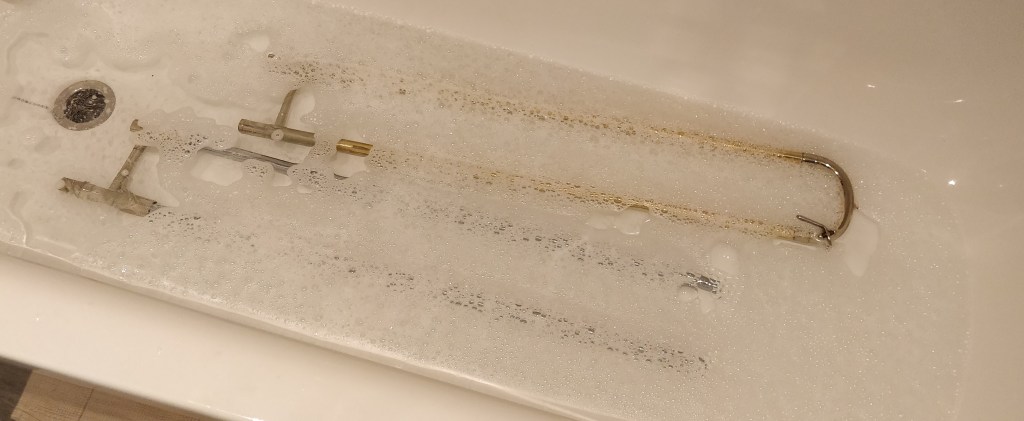
- Make sure your bath and cleaning equipment is very clean, taking extra care so that you don’t put your slide in contact with anything abrasive/gritty
- Run a few inches of warm water in to your bath. This needs to be much cooler than your mouthpiece wash – hot water near your laquer could be bad news. Add your small drop of soap and work it in to the water
- Pull your slide into two parts. Carefully submerge each part into the water and leave to soak
- Then, work with one part of the slide at a time;
Inner slide. Make sure to clean inside and out.
- Use your very clean kitchen paper to wipe off any excess oil, this tends to sit at the bottom of the stockings.
- Use your brush** to clean the inside of the stocking. Push and pull a few times to make sure you have got it all.
- Carefully rinse* both inside and out and lay on a big clean towel to dry.
Outer slide. It’s the inside that matters here.
- The inside is most important, pull your brush** through the section a few times to make sure you have removed any gunk. You’ll probably have some resistance near the water key so be careful but wiggle it and it should be fine.
- Rinse* and leave to dry!
**Pull-through brushes – watch out for ‘splats’. I’d keep this aimed over your bath so you don’t fly gunk around – you can also dip the brush in the water to aid this bit of cleaning.
No bath? No problem!
Find a big clean sink and handle the slide one part at a time;
- fill the outer slide with warm water and a tiny drop of dish soap – cover both ends with both thumbs and shake. Leave to soak if you have the space. Then, work your brush through the section until you are happy that you’ve removed any gunk
- the inner slide is more tricky without a bath as you cannot soak the part. So, extra work with your brush is needed – keep the brush wet and a little soapy and you should be able to achieve a nice clean slide
- repeat until happy and rinse* and leave to dry
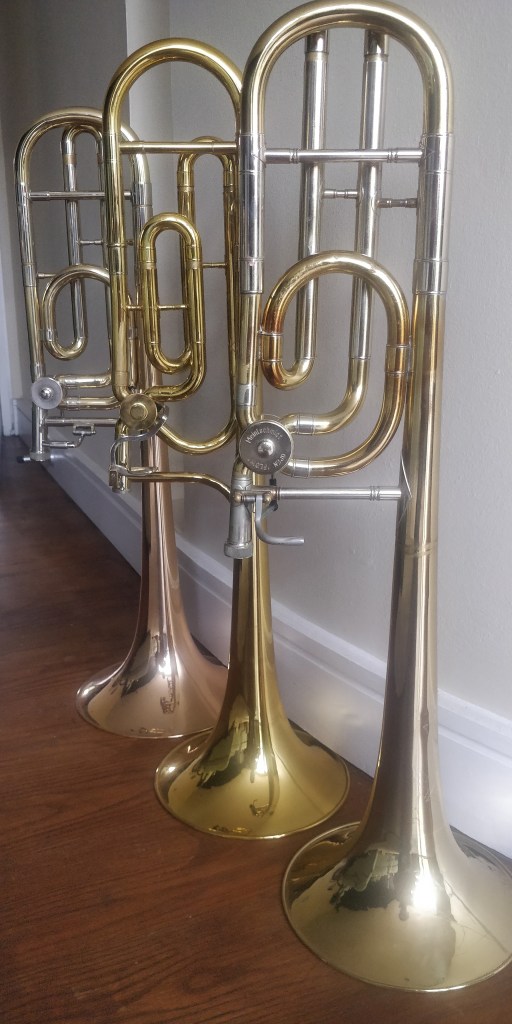
The Bell Section
Care here is mostly for functionality; submerging the whole section in water will generally offer little to the needs of this part of your equipment. That said, a big clean would be a good idea at some point; you don’t want years of residue left anywhere near something that you breathe around.
So, in short – if things are working well, don’t toy with anything. BUT it is a good idea to check that your tuning slides and valve(s) – if you have them – are well-oiled and moving nicely. Keep reading to find out more.
The Final Step – Adding Oils…
…to your slide
- general rule of thumb – go easy on your oils – a little goes a long way
- work one stocking at a time and start by applying your slide oil at the bottom, carefully work the oil around the stocking, moving upwards as you go
- your oil efforts can be kept topped up with a water spray, this is especially important when the weather is hot!
…to your valve
- firstly a reminder to go easy – a drip or two is all you need
- choose the right entrance! – you want to drip a little thin valve oil in from above and wiggle the valve to work it in
- some also like to open up the valve too (twist the front cap off) and oil the middle of the mechanism too, again – wiggling to work in the oil
- some linkage oil can also be applied to the back joins of your valve
…to your tuning slide
- remove these slides carefully, making sure you are pulling straight upwards
- wipe off any old/excess oil with a clean tissue
- then, working one side at a time, use a little thick grease and carefully work into the full slide – a twisting motion will be really helpful here
- once both sides are prepared, push the slide back in again, making sure to keep things straight!
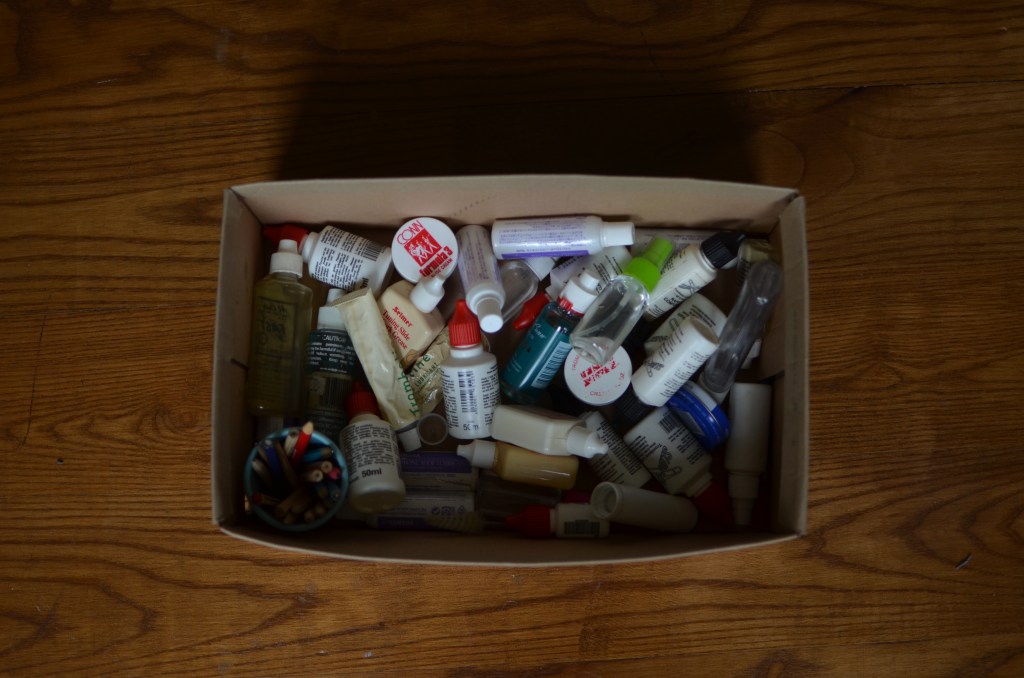
A note about oils. You will have your personal preference and your instrument might come with some specific recommendations too. The links included above are not compulsory! Explore what suits you best but try not to combine these oils on your instruments or you will never know the true effect of what you are applying.
A final polish!
This step is not just for the aesthetic, but it takes care of your metal too. Keep your laquer free of dust/oil/water for a happy, long-lasting instrument.
Do you need professional help?
Sometimes even the most thorough clean and careful oiling doesn’t improve the functionality of your instrument. This can be a sign of big dents, tiny dings, or occasionally misalignment.
This is where you need some professional care. Your local music shop might have a workshop with the right tools to help, if not they will hopefully be able to put you in touch with someone with the equipment to help. Do also consider using social media to ask for recommendations – there is some great help around.
